Hello!
Don't forget to register for my Christmas Stamp-a-Stack #2!
Deadline is TODAY!! https://conta.cc/3TNvUyZ
I have more ornaments to share with you!
Do you remember back in October, we took a glass-blowing (pumpkin) class?
Well, Saturday afternoon we made Christmas ornaments!
Tyler's girlfriend loved the idea when she saw it; so we decided to take the next class.
AND they gave it to me for my birthday!
We had fun!!
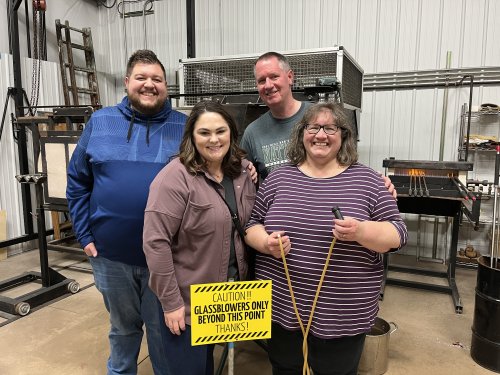
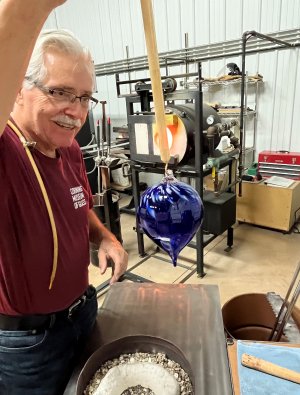
(Some of the pics I share may not be in order of steps taken. But for the most part, I tried to show the process. Todd, Tyler and Paige all chose the same basic design but different colors. Mine was the only [teardrop?] shape.)
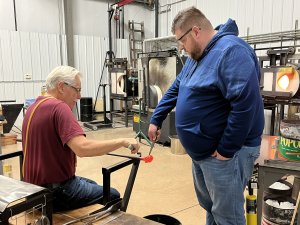
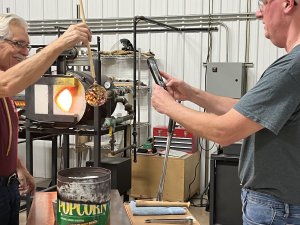
Pinching and twisting after the colored glass is added:
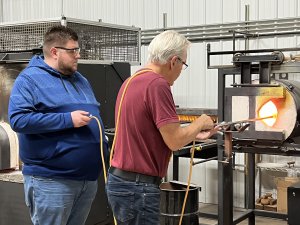
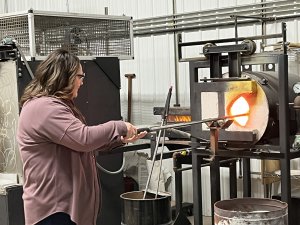
Warming the glass again before shaping and final blowing.
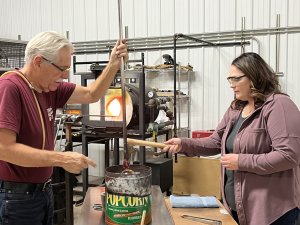
Getting the neck of the ornament even and thin enough to tap off the blow stick. I missed getting a pic of Tyler's final.
Warming and evening out the general shape.
Creating a bubble inside.
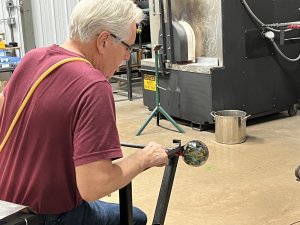
Shaping while air is being pumped in.
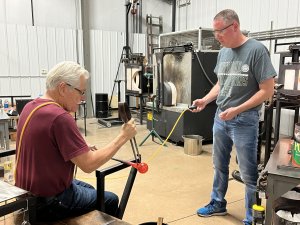
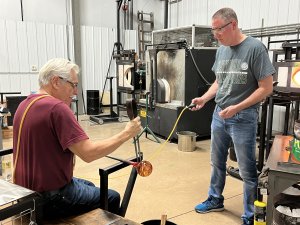
Todd's final. Looks more orange/hot still because of the furnace behind it.
Tapping it off the blowstick.
Paige's final.
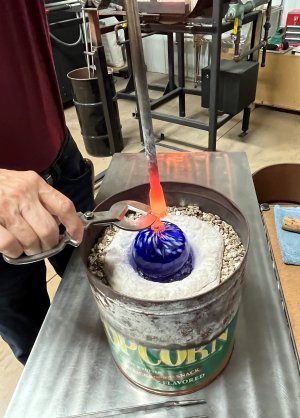
After shaping was done by my pumping/squeezing air into it, he reheated the bottom to pull the point.
He torches the top/opening after we tap the ornament off the blowstick–to attach and stretch another shaped piece of glass to make the stem/hole for hanging.
Attaching/making the stem.
It was a fun day!!
So I had also mentioned earlier Saturday at our Ornament Exchange that we made a mini project.
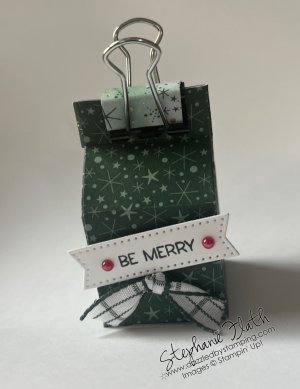
I decided we'd make an extra mini version of the milk carton I showed a couple weeks ago.
This one fits just 1 Lindt Chocolate Truffle:
I'll even give you the new measurements!
It's the same width as the taller one, and I'm using basically the same pic to show cut and score lines (cuz sometimes it's hard to describe them in words.)
MEASUREMENTS:
Here are the basics of what I used:
(click any pic to order!)
Have a marvelous day!!





Leave a Reply