Yep, that's right!
We made a box with our Envelope Punch Board.
I found the instructions from Kim Wilson on Pinterest.
I've only tried a box to fit 3×3 cards–or similar sized items; I'll have to give some other sizes a shot…..
But maybe I should get my Christmas cards out first. 😉
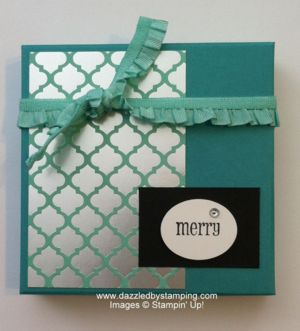
So here's the finished box we made:
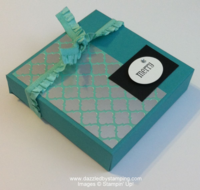
It ends up being 1" deep (thick? don't know how you'd describe that.)
So you know how on the Envelope Punch Board there are 3 columns of measurements: (finished) card size, paper size (start of the envelope) and score line.
Well, to make this box, we're using all that info as well:
- card size–this is the height & width of an item we'd like to fit in our box.
- paper size–we're adding 1" to each of those dimensions….The measurement needed for a 3×3 card is 5 1/4 x 5 1/4; our new need is 6 1/4 x 6 1/4.
- score line–we're using this line to punch and score (2 5/8) on each side/edge of the paper, and we're also ADDING 1" (3 5/8) and punching and scoring again.
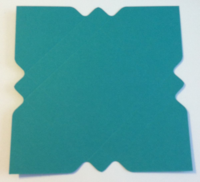
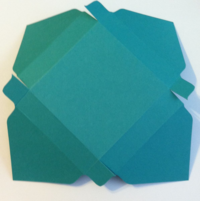
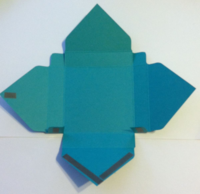
The finished/punched-n-scored paper looks like this:
Now you continue as you typically would a box:
- stamp/design the front as you'd like
- crease well on all the score lines
- CUT on score line for 4 small tabs (see picture)
To assemble, apply Sticky Strip to:
- the inside edges of your bottom flap–whichever is the bottom considering how your front is designed
- the outside of the 2 little tabs adjacent to the bottom flap
- the very corner of one of the side flaps (inside or outside doesn't matter; you just have to use that piece to adhere the 2 side flaps together)
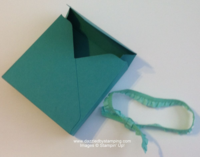
- remove Sticky Strip backing and tuck the 2 little tabs in to start creating the sides.
- secure the 2 side flaps after removing the backing from the small piece of Sticky Strip.
- remove backing again and fold up the bottom flap.
- this leaves the top flap loose to tuck in withouth adhesive or keep closed with ribbon as shown.
Colors: Bermuda Bay cs, Winter Frost Specialty DSP, Coastal Cabana Ruffle Stretch Trim; stamp set Pennant Parade + Small Oval punch
Have fun making your own Punch Board Box!
Have a fantastic day!
Remember, if you can fall in love with a project, you can learn to create it! Here to help you channel your inner Creative Genius…
Steph
LIKE me on Facebook.
Follow me on Pinterest.
Subscribe to my FREE newsletter, and receive my "5 Tips for Making Fabulous Hand-Stamped Creations."
Leave a Reply