I told you yesterday to check back for instructions on making the tassel of the graduation cap.
And I had grand ideas of trying a video, but I haven't figured out that techie of stuff yet. (will work on it.)
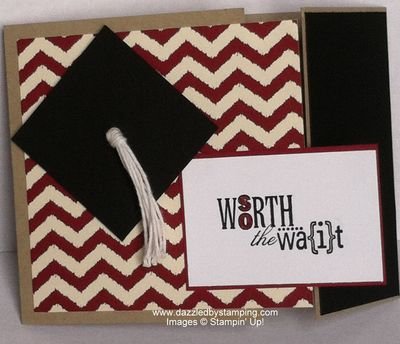
So you get pictures! Here's the card from yesterday.
I love the cap!
Here's how I made it (2 1/8" x 2 1/8" cap):
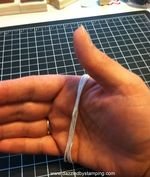
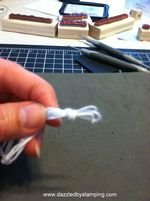
Start with 1 yard White Baker's Twine and wrap continuously around the widest part of your hand.
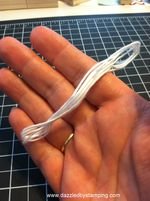
Slip off the layers of twine and lay flat on your hand in a thick cord.
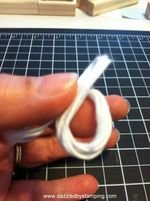
Make a loop on one end of the "cord" and wrap around and through the loop to make a knot–rather close to the end. (Set aside.)
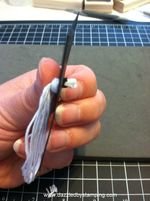
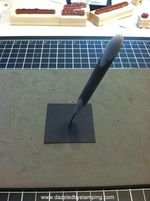 Take the square piece of black cardstock and poke a hole in the center of it with your paper piercing tool and mat.
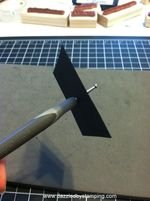 Make the hole even larger by poking through with your stylus (for the Simply Scored Tool) or something similar.
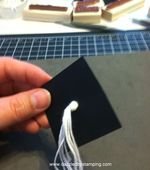
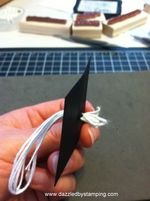 Using the stylus to assist, "thread" the short looped end (just past the knot) through the hole of the cap, leaving only the knot and long looped end showing on the "top" side.
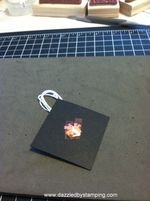
Cut the short looped ends off to remove some of the bulk.
Spread the ends out a little and secure as flatly as possible with a couple pieces of Sticky Strip or other tape. (No need to remove backing, because we're going to pop up the cap with Dimensionals.)
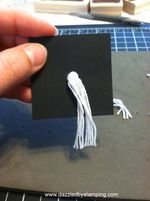
Turn over and cut the very ends of the long loop off–still leaving the tassels longer the the cap itself. (It has to hang over, you know!)
Attach to the card with Dimensionals.
Have fun making your grad cards!! (And don't forget we used Word Play on this card! Love that set. Order yours here.)
Remember,
if you can fall in love with a project, you can learn to
create it! Here to help you channel your inner Creative
Genius….
Steph
LIKE me on Facebook.
Follow me on Pinterest.
Subscribe to my FREE newsletter, and receive my "5 Tips for Making Fabulous Hand-Stamped Creations."
Leave a Reply